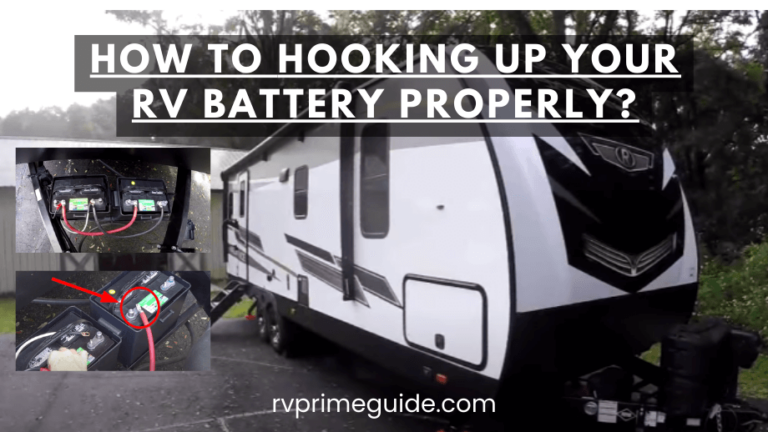
7 Simple Steps to Install a Power Inverter in Your RV
Imagine this: You’re in the heart of the wilderness, enveloped by stunning landscapes, yet you’re still brewing coffee, charging your gadgets, and watching TV—all without relying on shore power or running a noisy generator. Sounds amazing, right? That’s the beauty of a power inverter! If going off-grid while keeping the conveniences of home sounds like a dream, you’re in the right place. Let’s dive in and walk you through installing a power inverter step by step like a true expert.
Why Install a Power Inverter in Your RV?
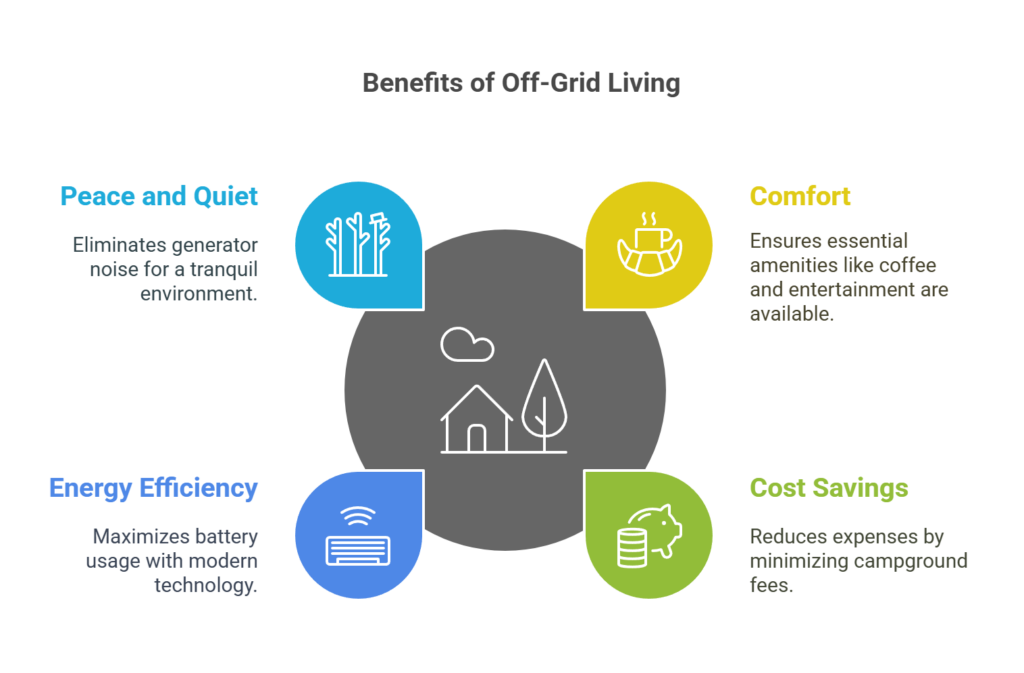
Think of a power inverter as your travel buddy that turns your RV’s DC battery power into AC electricity. What does that mean? It means you can run all your favorite household appliances like a microwave, blender, or TV while you’re boondocking in the wilderness. Here’s why it’s a must-have:
- Stay Comfortable Off-Grid: No need to sacrifice your morning coffee or movie nights.
- Save Money: Cut down on campground fees by reducing your dependence on hookups.
- Energy Efficiency: Modern inverters optimize battery usage.
- Enjoy Peace and Quiet: Say goodbye to noisy generators while still powering appliances.
What You’ll Need to Get Started
Before diving into the installation, gather your gear. Here’s a handy checklist to keep things smooth:
Tools:
- Screwdrivers (both Phillips and flat-head)
- Wire cutters/strippers
- Drill (optional but useful)
- Multimeter
- Wrenches
Materials:
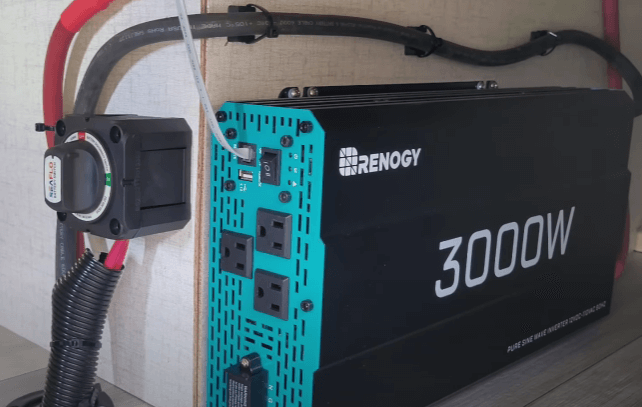
- A power inverter (choose one sized to your needs)
- Heavy-duty cables (proper gauge for your inverter)
- Inline fuse or circuit breaker
- Battery connectors
- Heat-shrink tubing
- Electrical tape
- Mounting hardware
Pro Tip: Not sure which inverter to pick? There are two best rv power inverters on Amazon that are solid choices for most RV setups.
| Renogy 3000W Pure Sine Wave Inverter | Check Details on Amazon |
| Ampeak 2000W Power Inverter | Check Details on Amazon |
Let’s Get to Work: Step-by-Step Installation
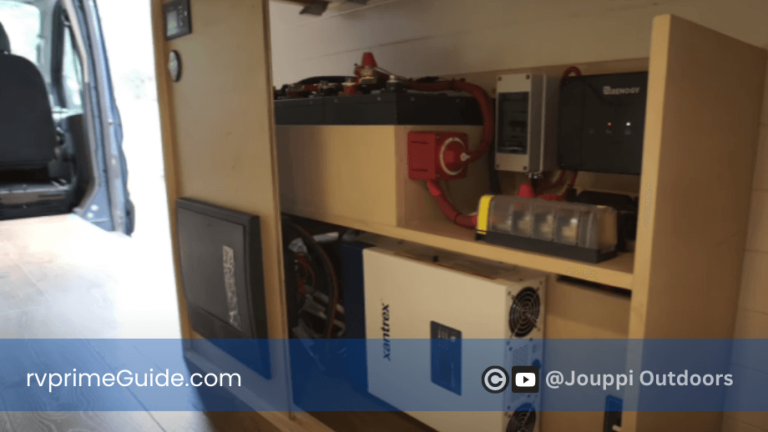
Step 1: Pick the Perfect Spot
Choose a spot that’s dry, well-ventilated, and close to your battery. Keeping the inverter near the battery minimizes energy loss from long cables. Avoid areas exposed to heat or moisture.
Step 2: Safety First – Disconnect the Battery
Before handling any wiring, disconnect your RV’s battery to avoid shocks or accidental shorts.
Step 3: Prep the Wiring
- Measure and cut cables to the right length for connecting the inverter to the battery.
- Attach an inline fuse or circuit breaker to the positive cable. This is your safety net against overloads.
- Strip cable ends and slide on some heat-shrink tubing for a clean, professional finish.
Step 4: Mount the Inverter
Secure the inverter in your chosen spot using mounting hardware. Ensure it’s oriented correctly for proper airflow to avoid overheating.
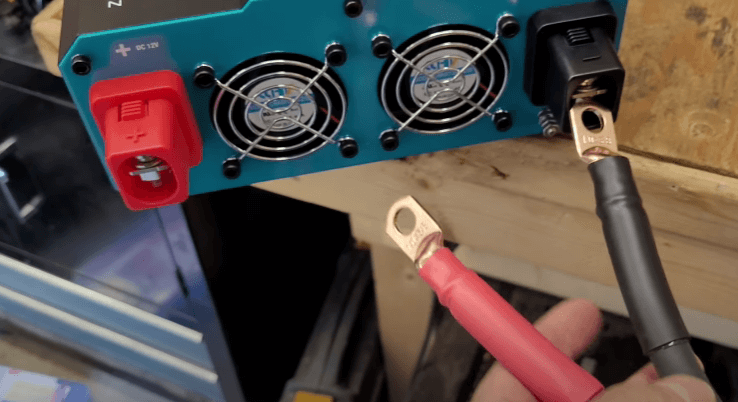
Step 5: Connect the Cables
- Attach the positive cable (with the fuse) to the inverter’s positive terminal.
- Connect the negative cable to the inverter’s negative terminal.
- Link the other ends of the cables to your battery’s corresponding terminals.
Quick Check: Use a multimeter to confirm all connections are secure and correctly polarized.
Step 6: Power It Up
Reconnect the battery and turn on the inverter. Test it by plugging in a simple AC device like a lamp or a phone charger.
Step 7: Tidy Things Up
Secure the cables with zip ties or clamps to keep everything neat and safe from damage.
Safety Tips for a Hassle-Free Setup
- Choose the Right Size Inverter: Calculate your total power needs and pick an inverter with some extra capacity.
- Fuse It Right: An inline fuse protects your system from short circuits.
- Stick to Manufacturer Guidelines: Always follow the instructions that come with your inverter.
- Don’t Skimp on Cable Quality: Thinner cables may overheat or waste energy.
- Regular Inspections: Periodically check connections and cables for wear or corrosion.
Solving Common Hiccups
If something’s not working as it should, here’s how to troubleshoot:
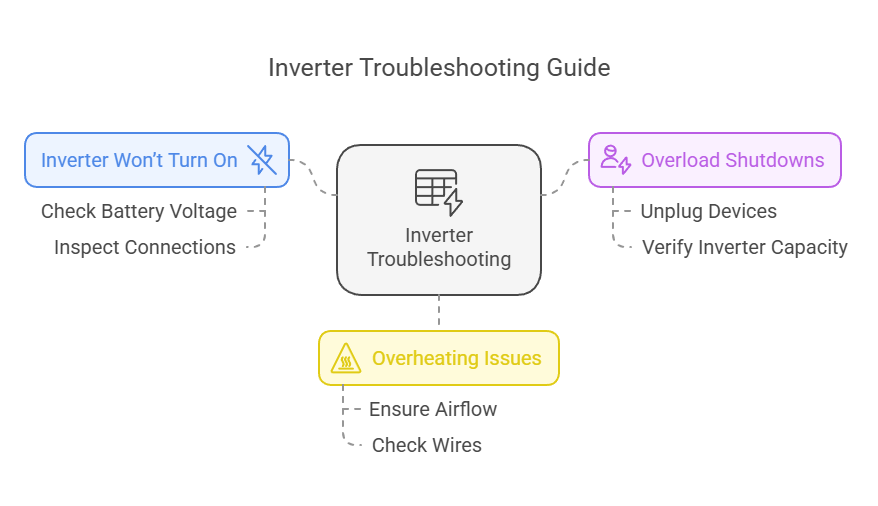
- Inverter Won’t Turn On
- Check your battery voltage. Is it fully charged?
- Inspect all connections for tightness and proper polarity.
- Overload Shutdowns
- Unplug some devices to reduce the load.
- Double-check your inverter’s capacity against your appliance power needs.
- Overheating Issues
- Ensure adequate airflow around the inverter.
- Check for loose or frayed wires.
Learn more about 30 Amp RV Power Cord Replacement: A Complete Guide.
Upgrade Ideas to Level Up Your System
Want to take it further? Here are some bonus features to consider:
- Solar Panels: Charge your batteries effortlessly using renewable energy.
- Battery Monitor: Keep an eye on your power usage and remaining capacity.
- Automatic Transfer Switch: Seamlessly switch between shore power, generator, and battery power.
Wrap-Up: Enjoy Your Off-Grid Freedom
Congratulations – you’ve just added a power inverter to your RV, opening up endless possibilities for off-grid adventures. Now you can enjoy the best of both worlds: the serenity of nature and the comforts of home. For even more tips and tutorials, check out RV Prime Guide.
Got questions or want to share your inverter setup? Drop a comment below! We’d love to hear about your RVing experiences. Until next time, happy travels and safe adventures!