4 Easy Steps to Clean Your RV Toilet (Say Goodbye to Odors!)
If you love RVing, you know how important it is to keep your RV toilet clean. A clean toilet means no bad smells, no clogs, and a happy RVing experience. In this guide, I’ll show you how to clean your RV toilet step-by-step. Don’t worry—it’s easy, and you can do it!
Why Should You Clean Your RV Toilet Regularly?
Your RV toilet works differently than a normal toilet. It connects to the black tank, which holds waste. If you don’t clean it, bad smells, clogs, or even damage to the tank can happen.
Also, using the wrong cleaners can harm your toilet’s seals or pipes. This can lead to expensive repairs. By cleaning regularly, you protect your RV’s plumbing system and keep your bathroom fresh.
Tools You Need to Clean an RV Toilet
You don’t need fancy tools, just the right ones. Here’s what you should have:
- RV-Safe Toilet Cleaner (never use regular toilet cleaners).
- Rubber Gloves (to stay clean).
- Toilet Brush (soft bristles are better).
- Black Tank Cleaning Wand (helps clean inside the tank).
- Enzyme-Based Tank Treatment (breaks down waste and controls smells).
- Disinfectant Wipes (for cleaning the outside of the toilet).
4 Easy Steps to Clean Your RV Toilet
Step 1: Prepare Before Cleaning
- First, empty the black tank at a dump station.
- Turn on the bathroom fan or open a window for ventilation.
- Put on your gloves—this gets messy!
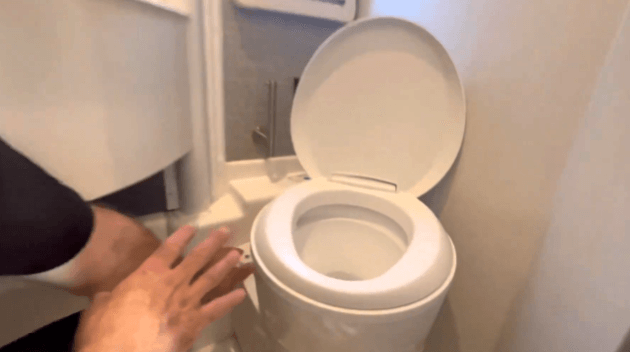
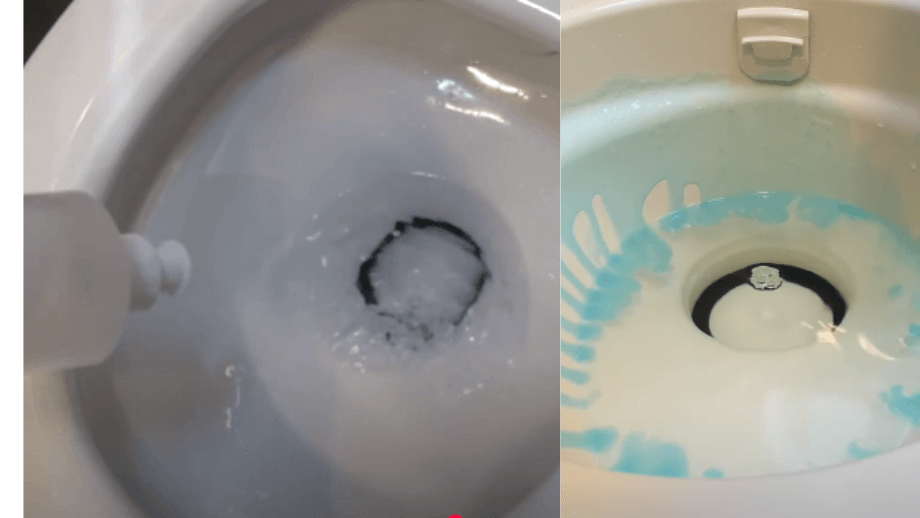
Step 2: Clean the Toilet Bowl
- Spray your RV-safe cleaner inside the bowl.
- Wait 1–2 minutes, then gently scrub with the toilet brush.
- Rinse with a little water, but don’t use too much. Too much water fills the black tank fast!
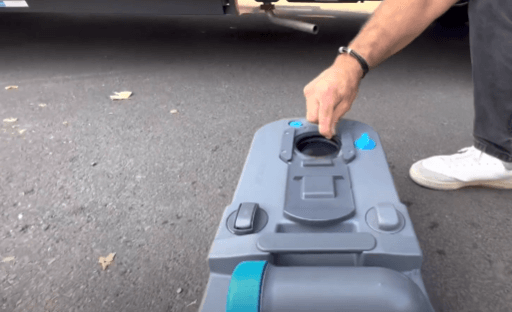
Step 3: Clean the Black Tank
- Fill the black tank with clean water.
- Use a black tank cleaning wand or the built-in flush system to spray inside the tank. This removes waste stuck to the walls.
- Flush the tank with water until it’s clean.
Pro Tip: If you don’t have a wand, use the built-in black tank flush system. Most RVs have one!
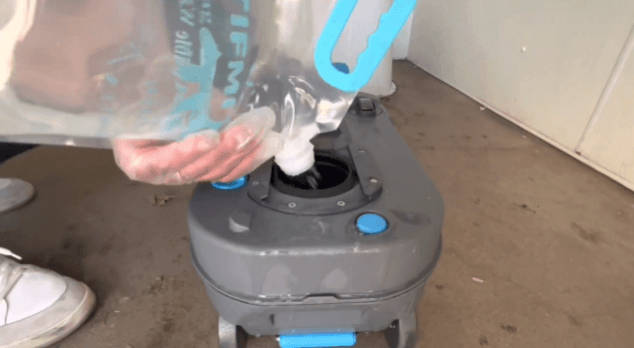
Step 4: Add Enzyme-Based Tank Treatment
- Pour the treatment into the toilet bowl and flush.
- Enzyme treatments break down waste and stop bad smells. They are safer for your tank than chemical treatments.
Quick Tips to Keep Your RV Toilet Fresh
1. Use RV-Safe Toilet Paper
Normal toilet paper can clog your system. Use RV-safe toilet paper, which breaks down faster.
2. Flush with Enough Water
After every use, flush with plenty of water to avoid waste sticking to the tank.
3. Try Natural Cleaners
I recommend pouring a mix of baking soda and vinegar into your black tank every few trips. This helps clean the tank without harming it.
4. Clean the Toilet Exterior
Don’t forget to wipe down the seat, lid, and base with disinfectant wipes. Germs love small spaces, so this is important.
5. Prevent Odors
- Use an RV-safe air freshener.
- Keep the toilet’s rubber seal lubricated to hold water and block smells.
When to Call a Professional
Sometimes, you might need expert help:
- Bad Smells Won’t Go Away: This could mean a blocked vent pipe.
- Leaks: Water around the toilet may mean a cracked seal.
- Flushing Problems: If the toilet doesn’t flush properly, it’s time for a repair.
Related Topics to Check Out
- How to Empty Your RV Black Tank – A step-by-step guide to emptying your tank without mess.
- Top 5 RV-Safe Toilet Cleaners – Best products to keep your toilet sparkling clean.
- Preventing RV Black Tank Odors – Tips for a fresh-smelling RV bathroom.
- RV Toilet Paper: Why It Matters – Learn why special toilet paper is important for RVs.
Final Thoughts
Keeping your RV toilet clean is easy when you follow these steps. With regular cleaning and simple habits, your RV bathroom will stay fresh and odor-free. Trust me, a clean toilet makes RVing much more enjoyable!
So, grab your cleaning tools and get started today. Your future self will thank you on your next trip!