7 Steps to Clean Your RV Fuel System for Better Performance
A clean fuel system is like the heartbeat of your RV engine—it keeps everything running smoothly. Over time, dirt, debris, and fuel residue can build up in your tank and lines, causing poor performance and even costly breakdowns. But the good news? Cleaning your RV’s fuel system isn’t rocket science, and it can save you a ton of headaches (and money) down the road.
If your RV feels sluggish or struggles to start, it might be begging for some TLC. Let’s dive into the signs, tools, and step-by-step process to restore your RV’s fuel system and keep it running like a dream.
What Are the Signs Your RV Fuel System Needs Cleaning?
Think of these as your RV’s way of saying, “Help me out!”
- Trouble Starting: Slow starts or frequent misfires could mean dirt is clogging the lines or injectors.
- Low Gas Mileage: If your tank is emptying faster than usual, debris could be restricting fuel flow.
- Hesitation or Stalling: Does your RV feel sluggish when accelerating? That’s often a sign of buildup.
- Black Exhaust Smoke: This means the engine isn’t burning fuel efficiently, likely due to blockages.
- Fuel Odors: Strong smells of fuel could point to leaks or heavy residue in your system.
Catch these signs early, and you’ll save yourself from major repairs later.
What Tools Do You Need for RV Fuel System Cleaning?
Before you start, gather these tools and supplies:
- Fuel system cleaner (make sure it’s compatible with your engine type).
- Siphon or fuel pump to drain the tank.
- Fuel line disconnect tools for easy access.
- A container for old fuel disposal (check your local recycling center).
- Funnel and fresh gasoline for refilling.
- Gloves and safety goggles to protect yourself.
- Wrenches and screwdrivers to remove components.
Pro Tip: Always consult your RV manual before cleaning to know your system’s specs and avoid mistakes.
Step-by-Step Guide: How to Clean Your RV Fuel System
Here’s the process, broken down into simple steps:
Step 1: Park Safely and Prepare
- Park your RV in a well-ventilated area to avoid inhaling fumes.
- Make sure the engine is off and completely cool.
- Disconnect the battery to prevent electrical sparks.
- Wear gloves and goggles for safety.
Step 2: Drain the Old Fuel
- Use a siphon or pump to remove old fuel from the tank into a container.
- This removes water, sediment, and varnish that build up over time.
- Dispose of old fuel responsibly—your local recycling center can help.
Step 3: Clean the Fuel Tank
- If you can, remove the fuel tank for a thorough cleaning.
- Use a fuel tank cleaner to rinse out sediment and residue.
- Swirl the cleaner inside, drain it completely, and let the tank dry before reinstalling.
Step 4: Inspect and Flush Fuel Lines
- Check the fuel lines for cracks, leaks, or clogs.
- Flush them with a fuel line cleaner or compressed air.
- Replace any damaged or heavily worn lines to prevent leaks.
- While you’re at it, inspect the connections to your carburetor or injectors for weak spots.
Step 5: Replace the Fuel Filter
- If it’s reusable, soak it in fuel cleaner and rinse thoroughly.
- If it’s disposable, replace it with a new filter recommended by the manufacturer.
- A clean filter is your first line of defense against debris entering the engine.
Step 6: Add a Fuel System Cleaner
- Pour the recommended amount of cleaner into the fuel tank.
- Refill the tank with fresh gasoline to dilute the cleaner.
- Start the engine and let it idle for 10–15 minutes to circulate the cleaner through the system.
- This step dissolves stubborn residue and improves fuel efficiency.
Step 7: Final Inspection and Test Drive
- Reassemble your fuel system and double-check all connections for leaks.
- Start the engine and let it idle for a few minutes—listen for any unusual noises.
- Take your RV for a short test drive. Notice smoother acceleration, better fuel efficiency, and a quieter ride? That’s the magic of a clean fuel system!
Why Fuel System Cleaning is Critical
Neglecting your RV’s fuel system can lead to poor mileage, rough starts, and even permanent engine damage. Regular cleaning helps:
- Improve fuel efficiency.
- Extend the life of your engine.
- Prevent expensive breakdowns.
- Keep your RV ready for the road whenever adventure calls.
Preventive Maintenance Tips
Want to avoid fuel system problems in the first place? Follow these tips:
- Use High-Quality Fuel: Cheap fuel might save you a buck now but could cost you later in repairs.
- Add Fuel Stabilizers: Prevent gum and varnish buildup during storage.
- Replace the Fuel Filter Annually: Clean fuel keeps your engine happy.
- Inspect Fuel Lines Regularly: Spot cracks or leaks before they become bigger issues.
- Run the Engine Monthly: This keeps the fuel system moving and prevents clogs.
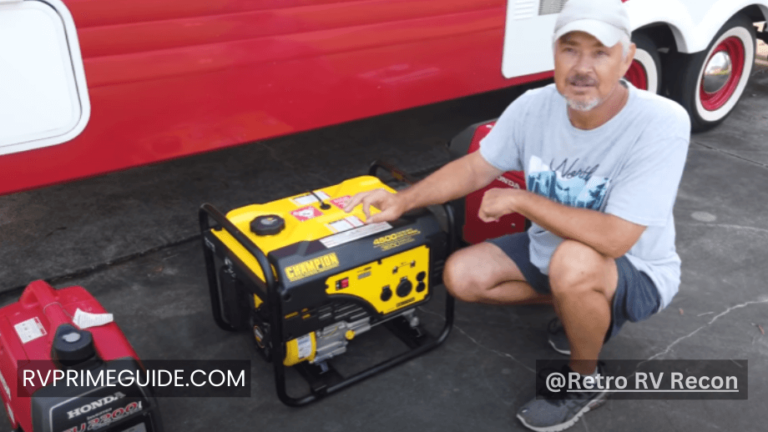
Pair fuel system cleaning with regular RV oil changes and generator maintenance for a reliable, worry-free experience.
When to Call a Professional
Sometimes, it’s best to leave it to the pros. Here’s when:
- Your RV still has issues after cleaning.
- You notice visible fuel leaks.
- You can’t access parts of the fuel system or don’t have the right tools.
FAQ: RV Fuel System Cleaning
- How often should I clean my RV fuel system?
At least once a year or every 12,000–15,000 miles. - Can I clean the fuel system without removing the tank?
Yes! Many fuel system cleaners work without tank removal, but severe buildup may require it. - Does cleaning the fuel system improve mileage?
Absolutely! A clean system ensures efficient fuel flow and better combustion.

Conclusion
Taking care of your RV’s fuel system isn’t just maintenance—it’s peace of mind. With clean lines, a fresh filter, and regular inspections, you’ll keep your RV running smoothly for all the adventures ahead.
Don’t wait for trouble to arise—make fuel system cleaning a part of your regular RV care routine and enjoy the open road without a hitch!