Wire an Inverter to an RV Breaker Box in 5 Steps
Ever been on an RV trip, miles from the nearest power source, only to find your appliances struggling to function? I’ve been there, and trust me, it’s no fun. Wiring your inverter directly to the breaker box could save you from such a scenario and ensure that all your gadgets run smoothly.
In this guide, I’ll walk you through how to wire an inverter to an RV breaker box. Whether you’re a seasoned RVer or a curious beginner, you’ll find this step-by-step process easy to follow. Let’s dive in and make your RV adventures more enjoyable!
Understanding the Basics of RV Inverters and Breaker Boxes
Before jumping into the wiring, let’s talk about the essentials.
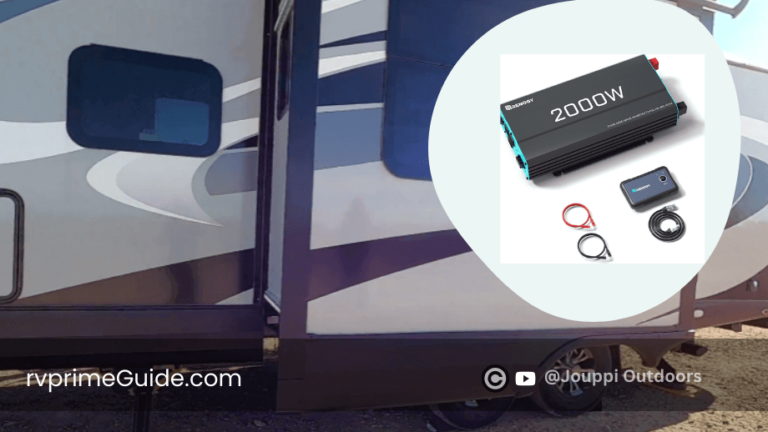
What’s an RV inverter?
An inverter converts the DC power stored in your RV batteries into AC power, which is what your household appliances use. This means you can run things like a microwave, TV, or even your laptop while off the grid.
Why connect it to the breaker box?
Wiring your inverter to the breaker box allows the entire RV electrical system to run seamlessly. Instead of connecting individual appliances, this setup distributes power to all the circuits connected to the breaker box. It’s efficient and practical!
Safety first!
Electrical work can be dangerous if not done correctly. Always ensure the power is off before you start. And if something feels out of your depth, don’t hesitate to consult a professional.
Tools and Materials Needed to Wire an Inverter to Your RV Breaker Box
To make this job easier and safer, you’ll need:
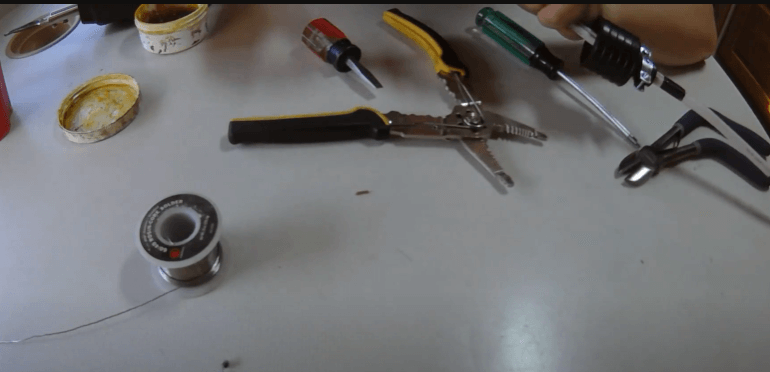
Tools:
- Screwdriver set
- Wire cutters/strippers
- Multimeter (to test voltage)
- Drill (if mounting is required)
Materials:
- Proper gauge wires (consult your inverter manual for the recommended size)
- Fuse or circuit breaker
- Terminal connectors
- Electrical tape or heat shrink tubing
Safety Gear:
- Insulated gloves
- Safety goggles
Gathering these ahead of time will save you from multiple trips to the store.
Step-by-Step Guide to Wiring an Inverter to an RV Breaker Box
This is where the fun (and a bit of work) begins. Follow these steps, and you’ll have your inverter wired safely in no time.
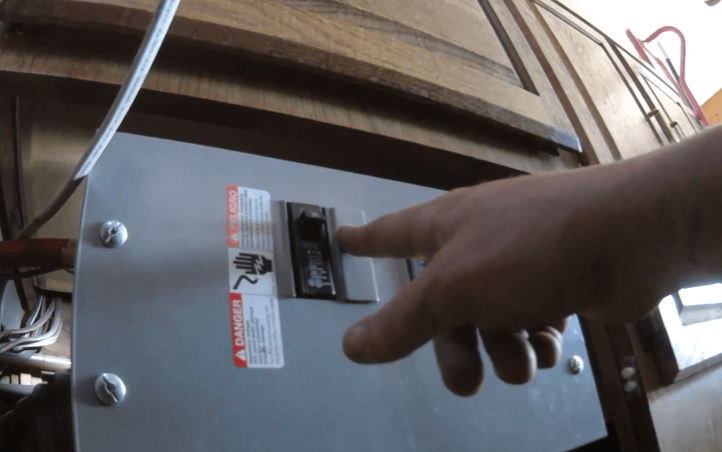
Step 1: Switch Off Power and Ensure Safety
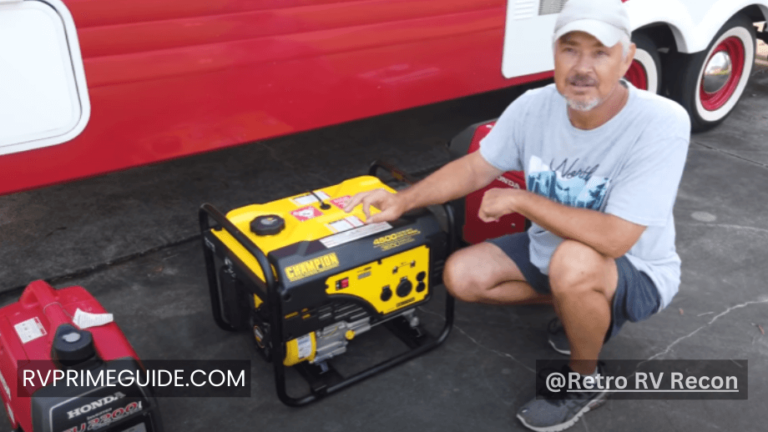
First things first—turn off all power sources. That includes the shore power connection, generator, and battery. Use a multimeter to double-check there’s no voltage running through the system. Trust me, skipping this step isn’t worth the risk.
Step 2: Identify the Correct Wiring Path
Locate your breaker box and figure out the best path for running wires from the inverter. Ensure the wires won’t get pinched or exposed to sharp edges. Use zip ties or conduits to secure them neatly.
Step 3: Connect the Inverter to the Battery
This step is critical for powering the inverter.
- Attach the positive cable to the inverter’s positive terminal and the battery’s positive post.
- Do the same with the negative cable.
- Add a fuse or circuit breaker near the battery to protect the system from overcurrent.
Take your time with this step—loose connections can cause trouble later.
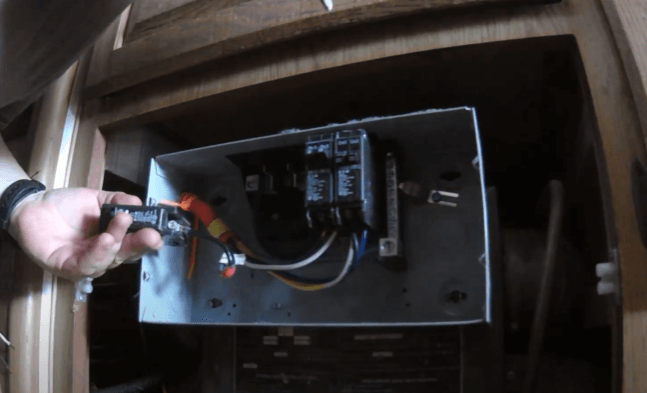
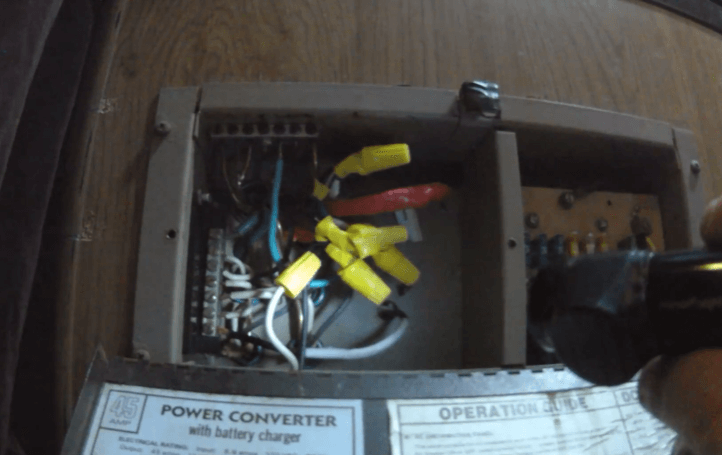
Step 4: Wire the Inverter to the Breaker Box
- Locate the AC output terminals on your inverter.
- Use the correct gauge wires to connect the inverter to the breaker box’s main bus.
- If your RV has a transfer switch, wire the inverter to the input side of the transfer switch. This allows the system to toggle between shore power and battery power automatically.
Step 5: Test the System
Once everything is connected, it’s time for the moment of truth.
- Switch on the inverter and test its output using a multimeter.
- Check if all the circuits connected to the breaker box are receiving power.
- If something doesn’t work, double-check the connections and ensure the inverter is set up properly.
Tips for Safe and Efficient Wiring
From my personal experience, a few simple tips can save you a lot of hassle:
- Use the correct wire size to prevent overheating. Bigger inverters require thicker wires—don’t skimp here!
- Always ground the inverter properly to avoid electrical shocks or damage.
- Keep a fire extinguisher nearby, just in case.
Mistakes to Avoid When Wiring an Inverter to a Breaker Box
- Skipping the step of turning off all power sources.
- Using the wrong wire size or failing to secure connections properly.
- Forgetting to test the system before use.
FAQs: Common Questions About Wiring an RV Inverter to a Breaker Box
Q1: Can I wire the inverter without a transfer switch?
Yes, but a transfer switch makes it easier to switch between power sources automatically. It’s a worthwhile investment.
Q2: What wire gauge should I use?
This depends on your inverter’s wattage. Consult the inverter’s manual to determine the correct gauge.
Q3: Is it safe to DIY this, or should I hire a professional?
If you’re confident in your electrical skills and follow safety precautions, it’s a doable DIY project. However, if you’re unsure, it’s better to hire an expert.
Conclusion
Wiring an inverter to your RV breaker box might seem daunting at first, but with the right tools, preparation, and guidance, it’s completely achievable. Not only will it make your RV setup more convenient, but it’ll also ensure that you’re never left in the dark—literally!
If you’ve tried this setup, share your experience in the comments below. Got stuck somewhere? Ask your questions—I’d be happy to help!